

The top 21 most useful tools in framing
When It comes to framing there’s an endless list of tools that has been introduced over the years. In the world of framing tools there are a number of tools that stand out in two specific categories, “Hand tools” and “Power tools,” as the most vital for performing work as a framer. First let’s take a look at Hand tools the original framing tools and the most important tools in our arsenals today.
HAND TOOLS:
Hammer: Specifically the framing hammer. Used for driving nails and framing. The Framing hammer has a ridged tip on the driving end designed to sink the nails deeper into the substrate.

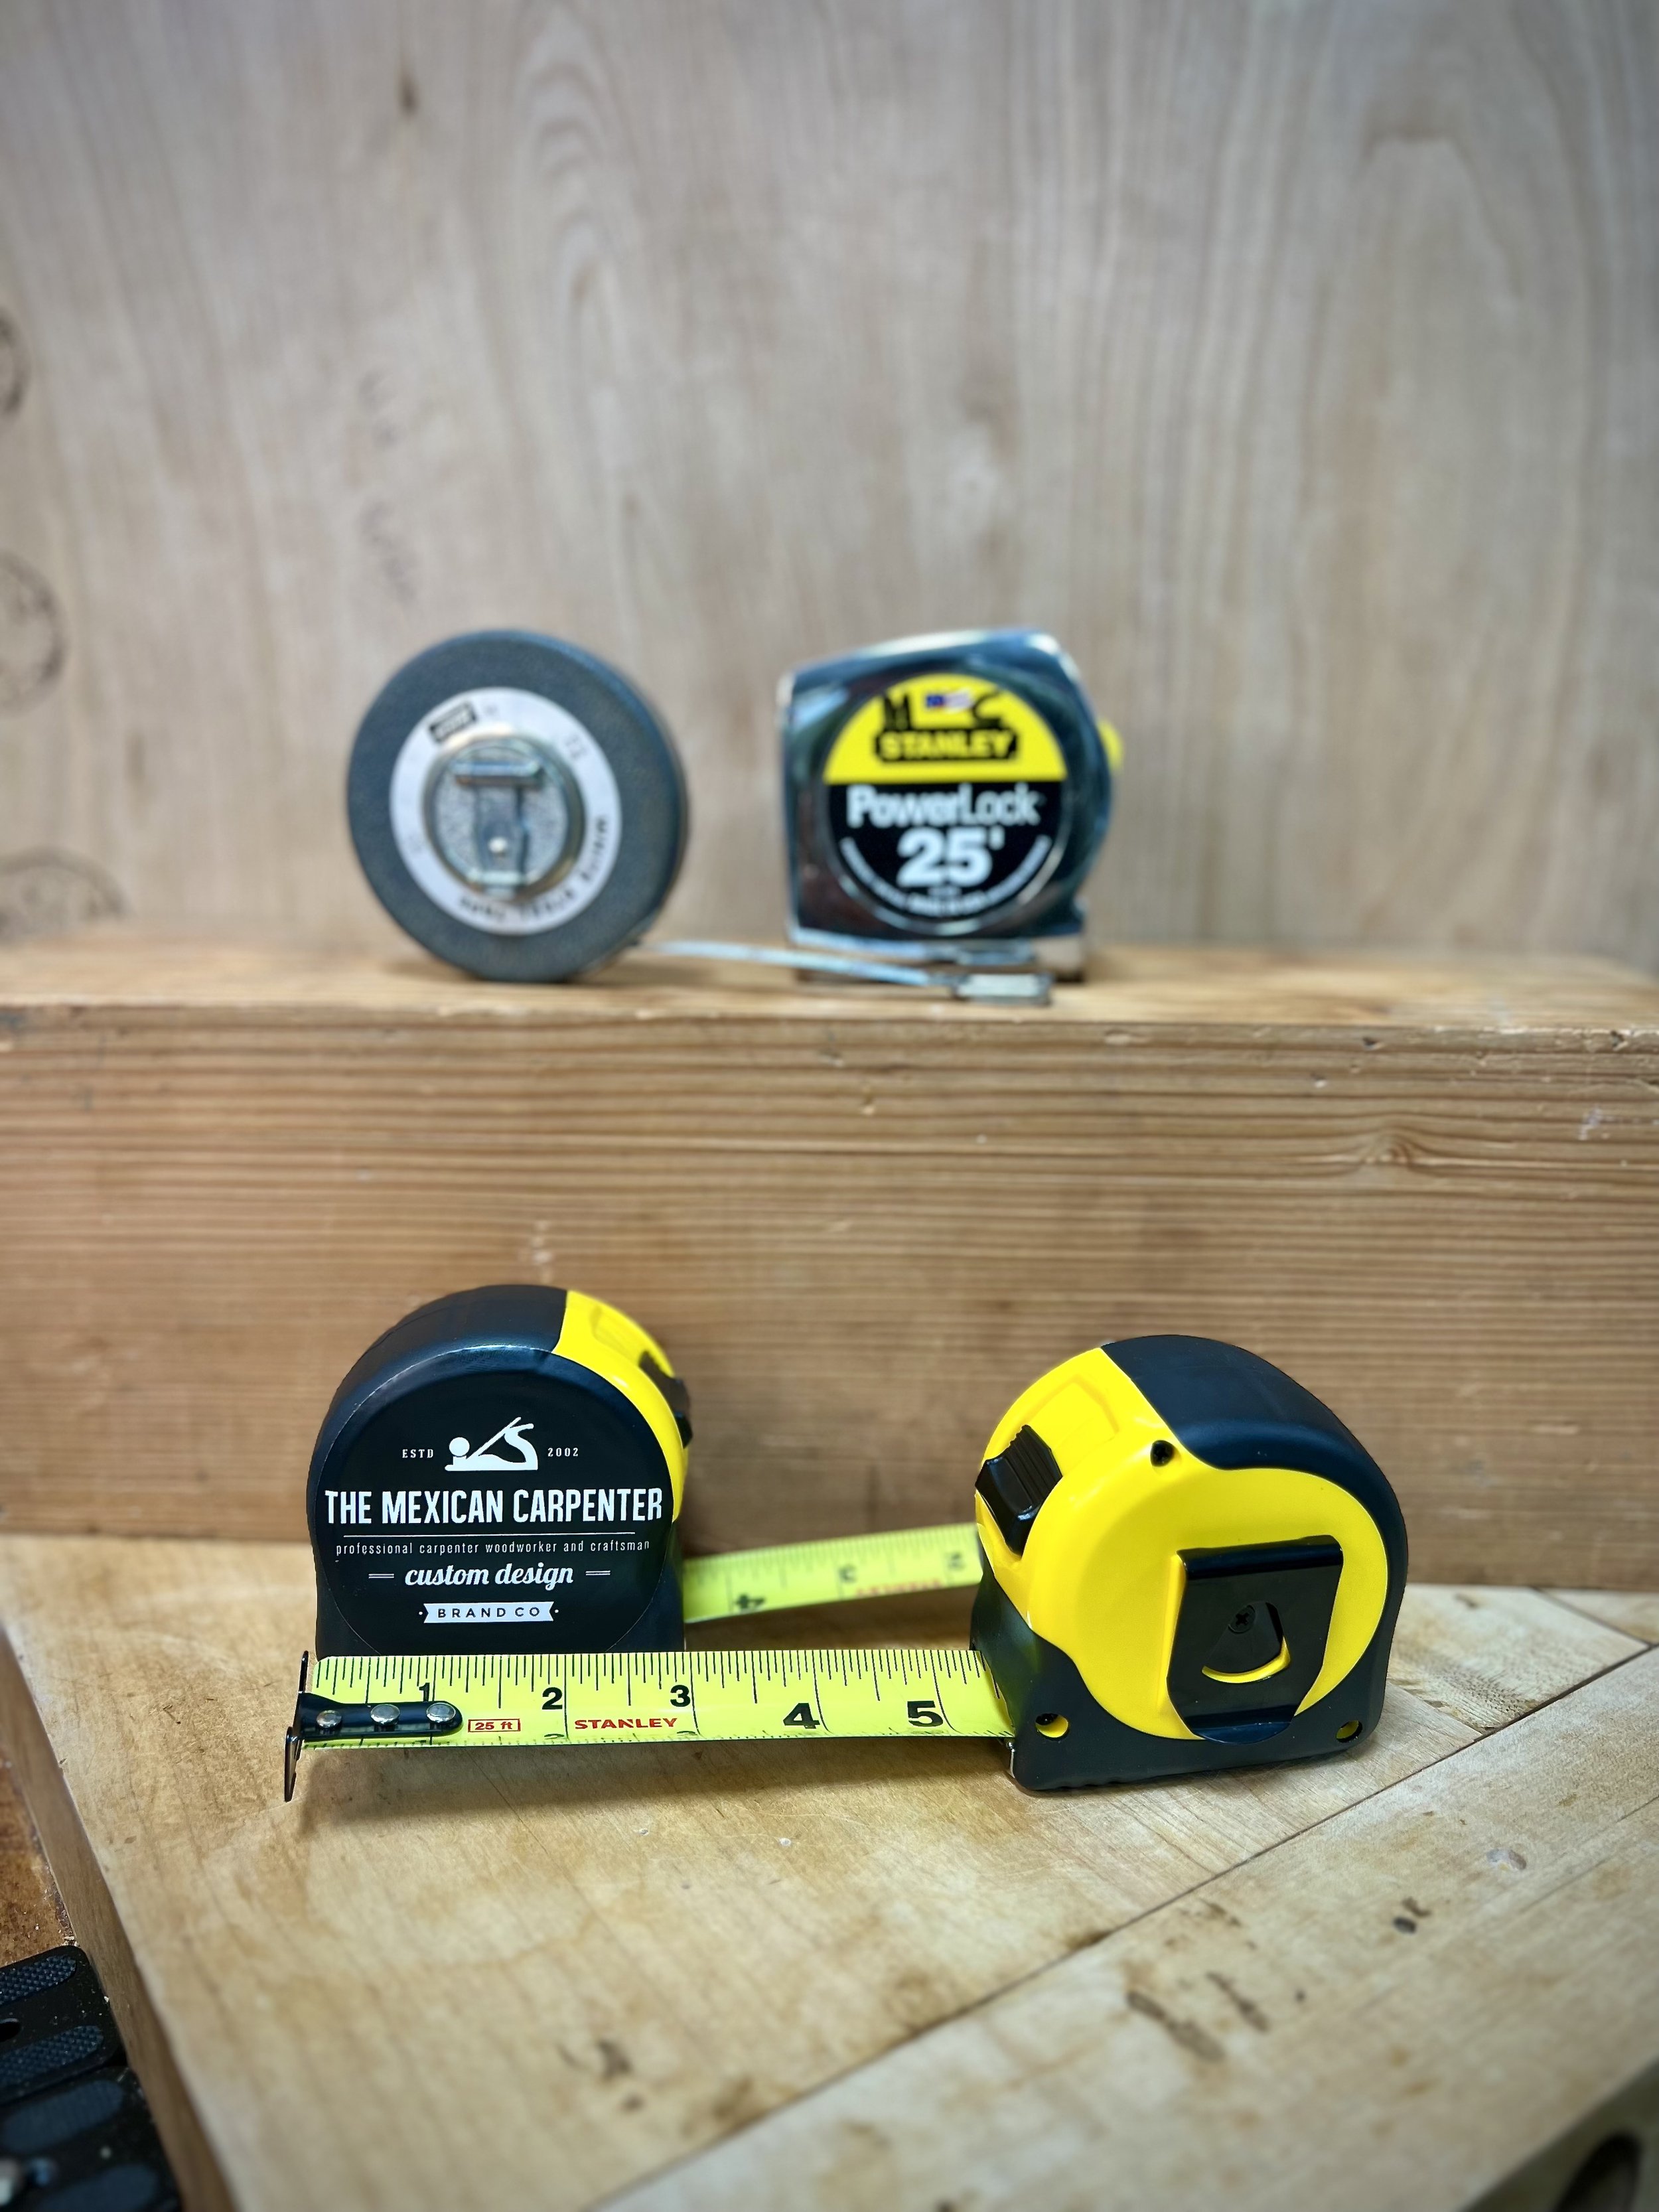
Tape Measure: Essential for taking accurate measurements. One of the most useful hand tools on all construction sites.
Speed Square: Helps in marking and measuring angles. This tool is indispensable when it comes to calculating angles and short measurements on the fly. The speed square has evolved so much over the years that it can span multiple functions from measuring, squaring, to leveling and scribing

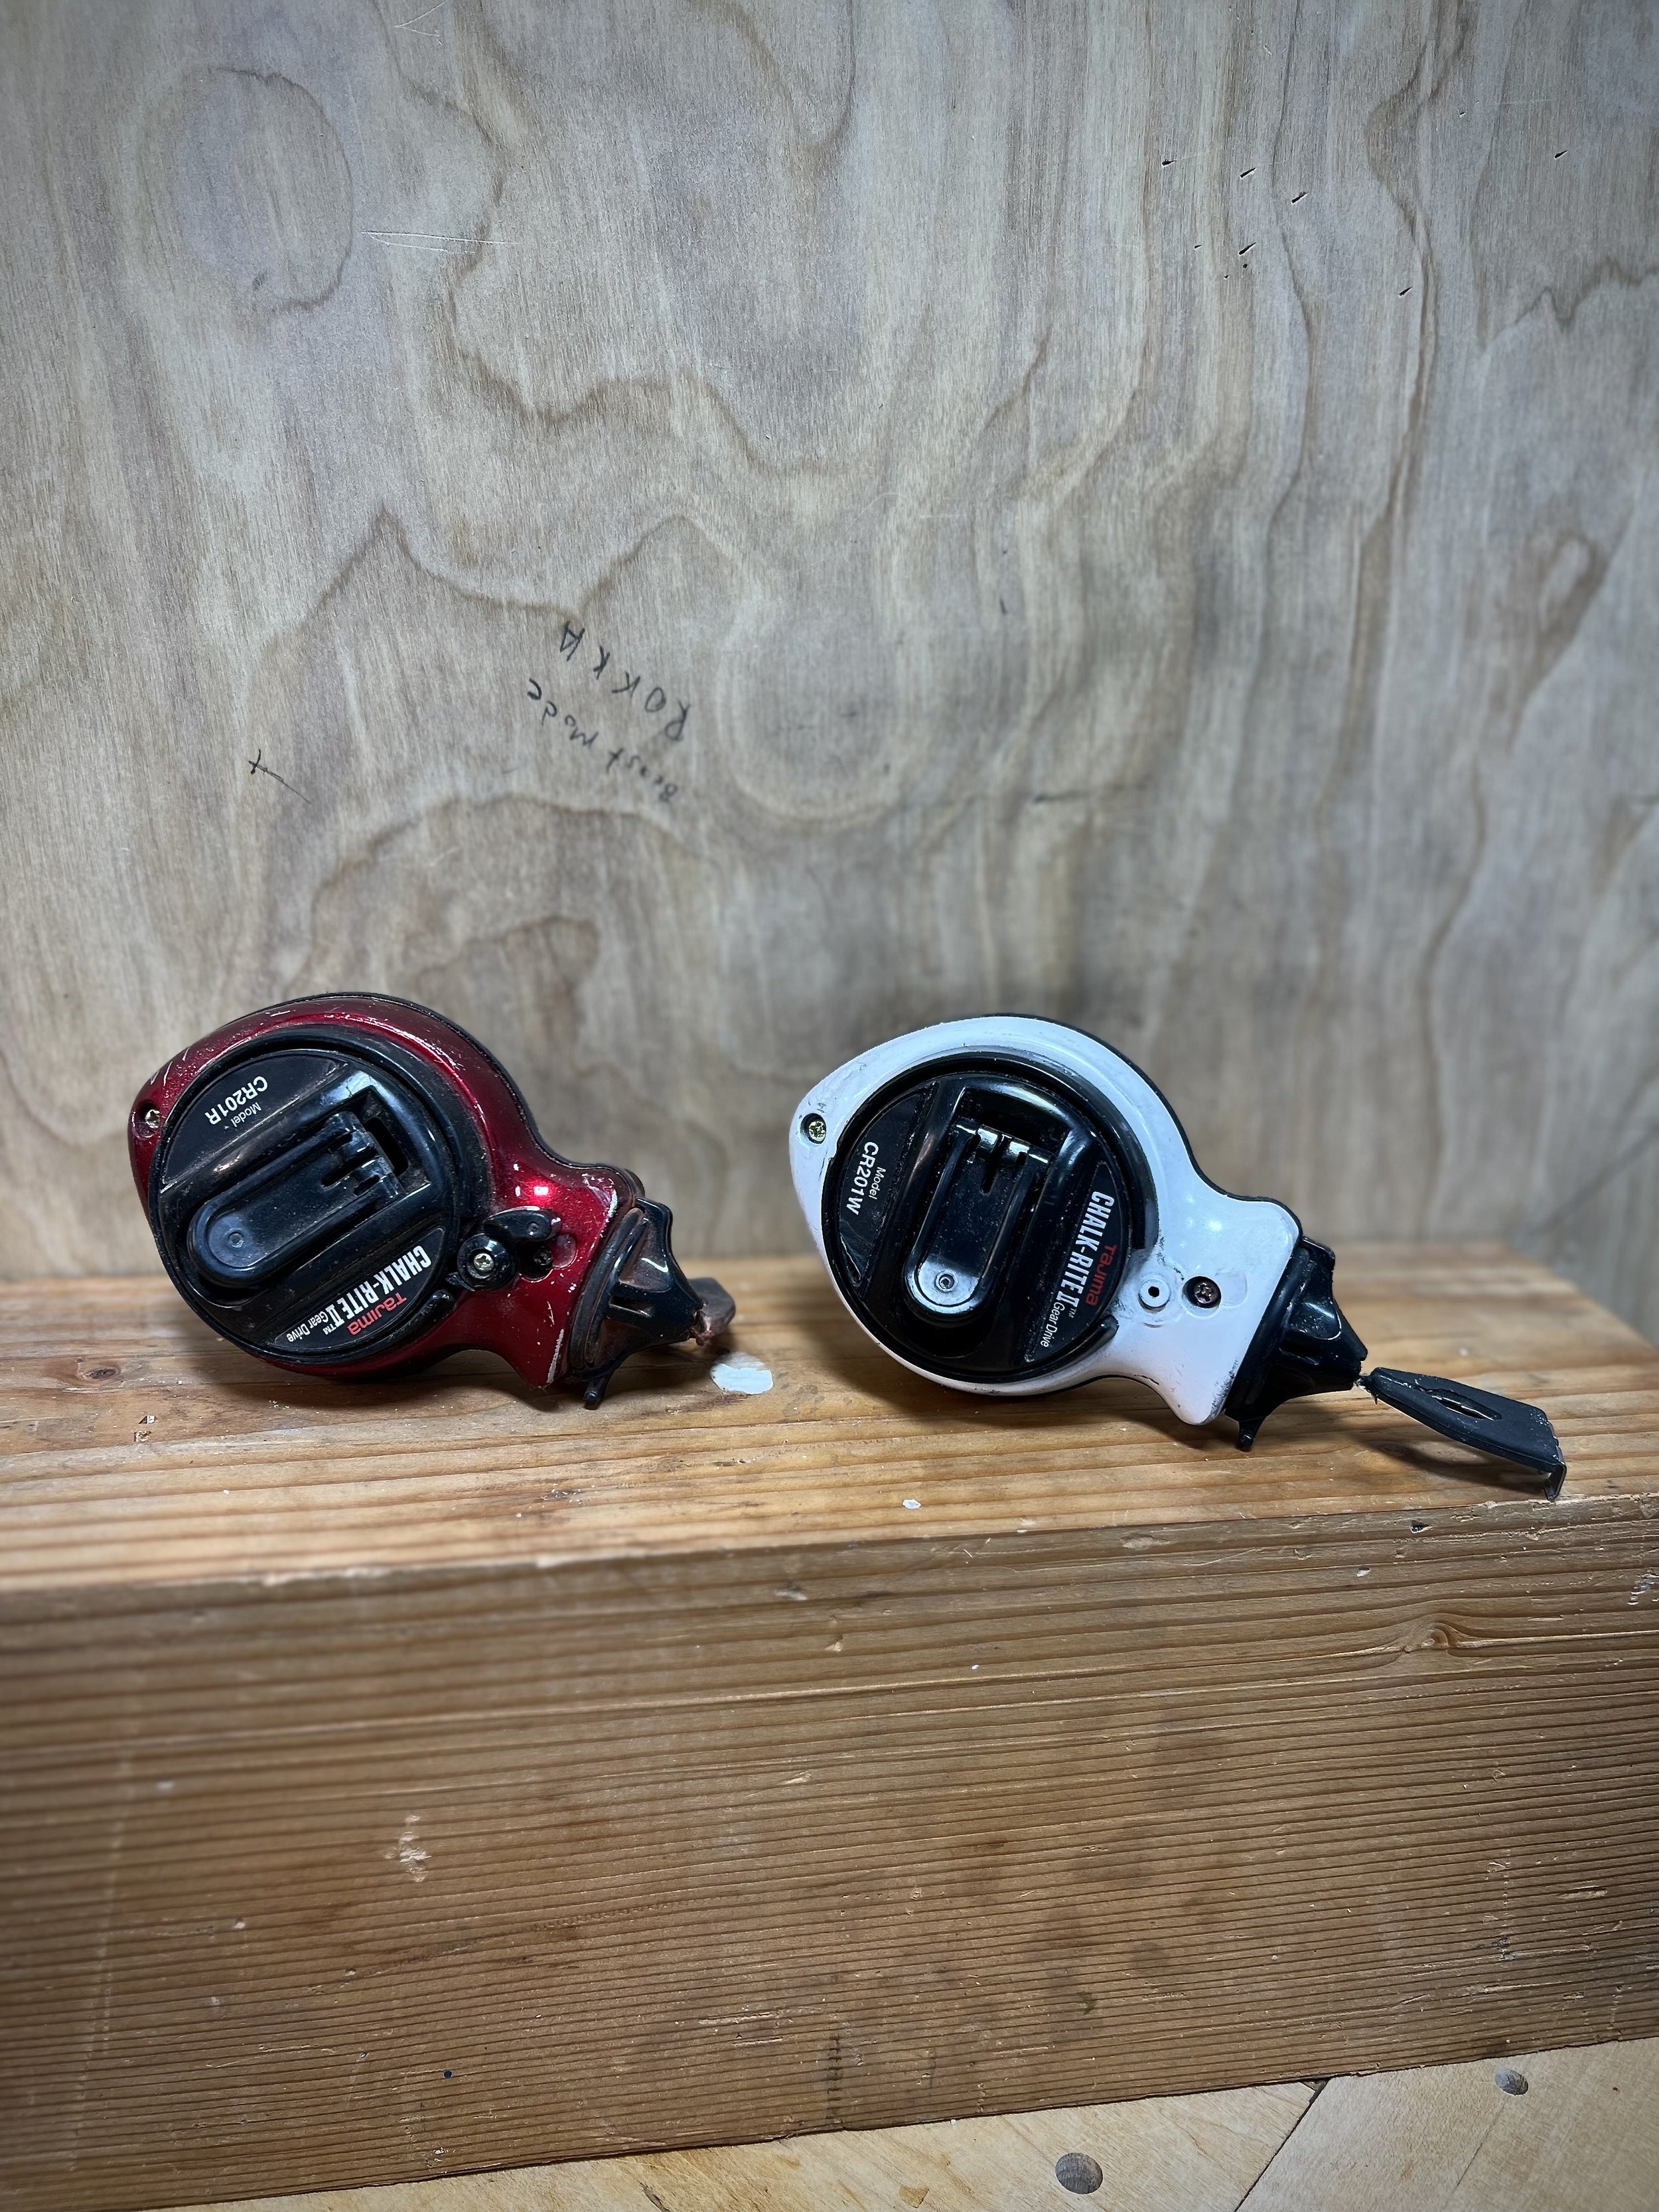
Chalk Line: Creates straight lines for cutting or laying out walls. Levels and squares work great for short distance straight edge marking but for anything bigger a chalk line is the ultimate tool for marking a permanent or semi permanent reference line for cutting or placing materials.
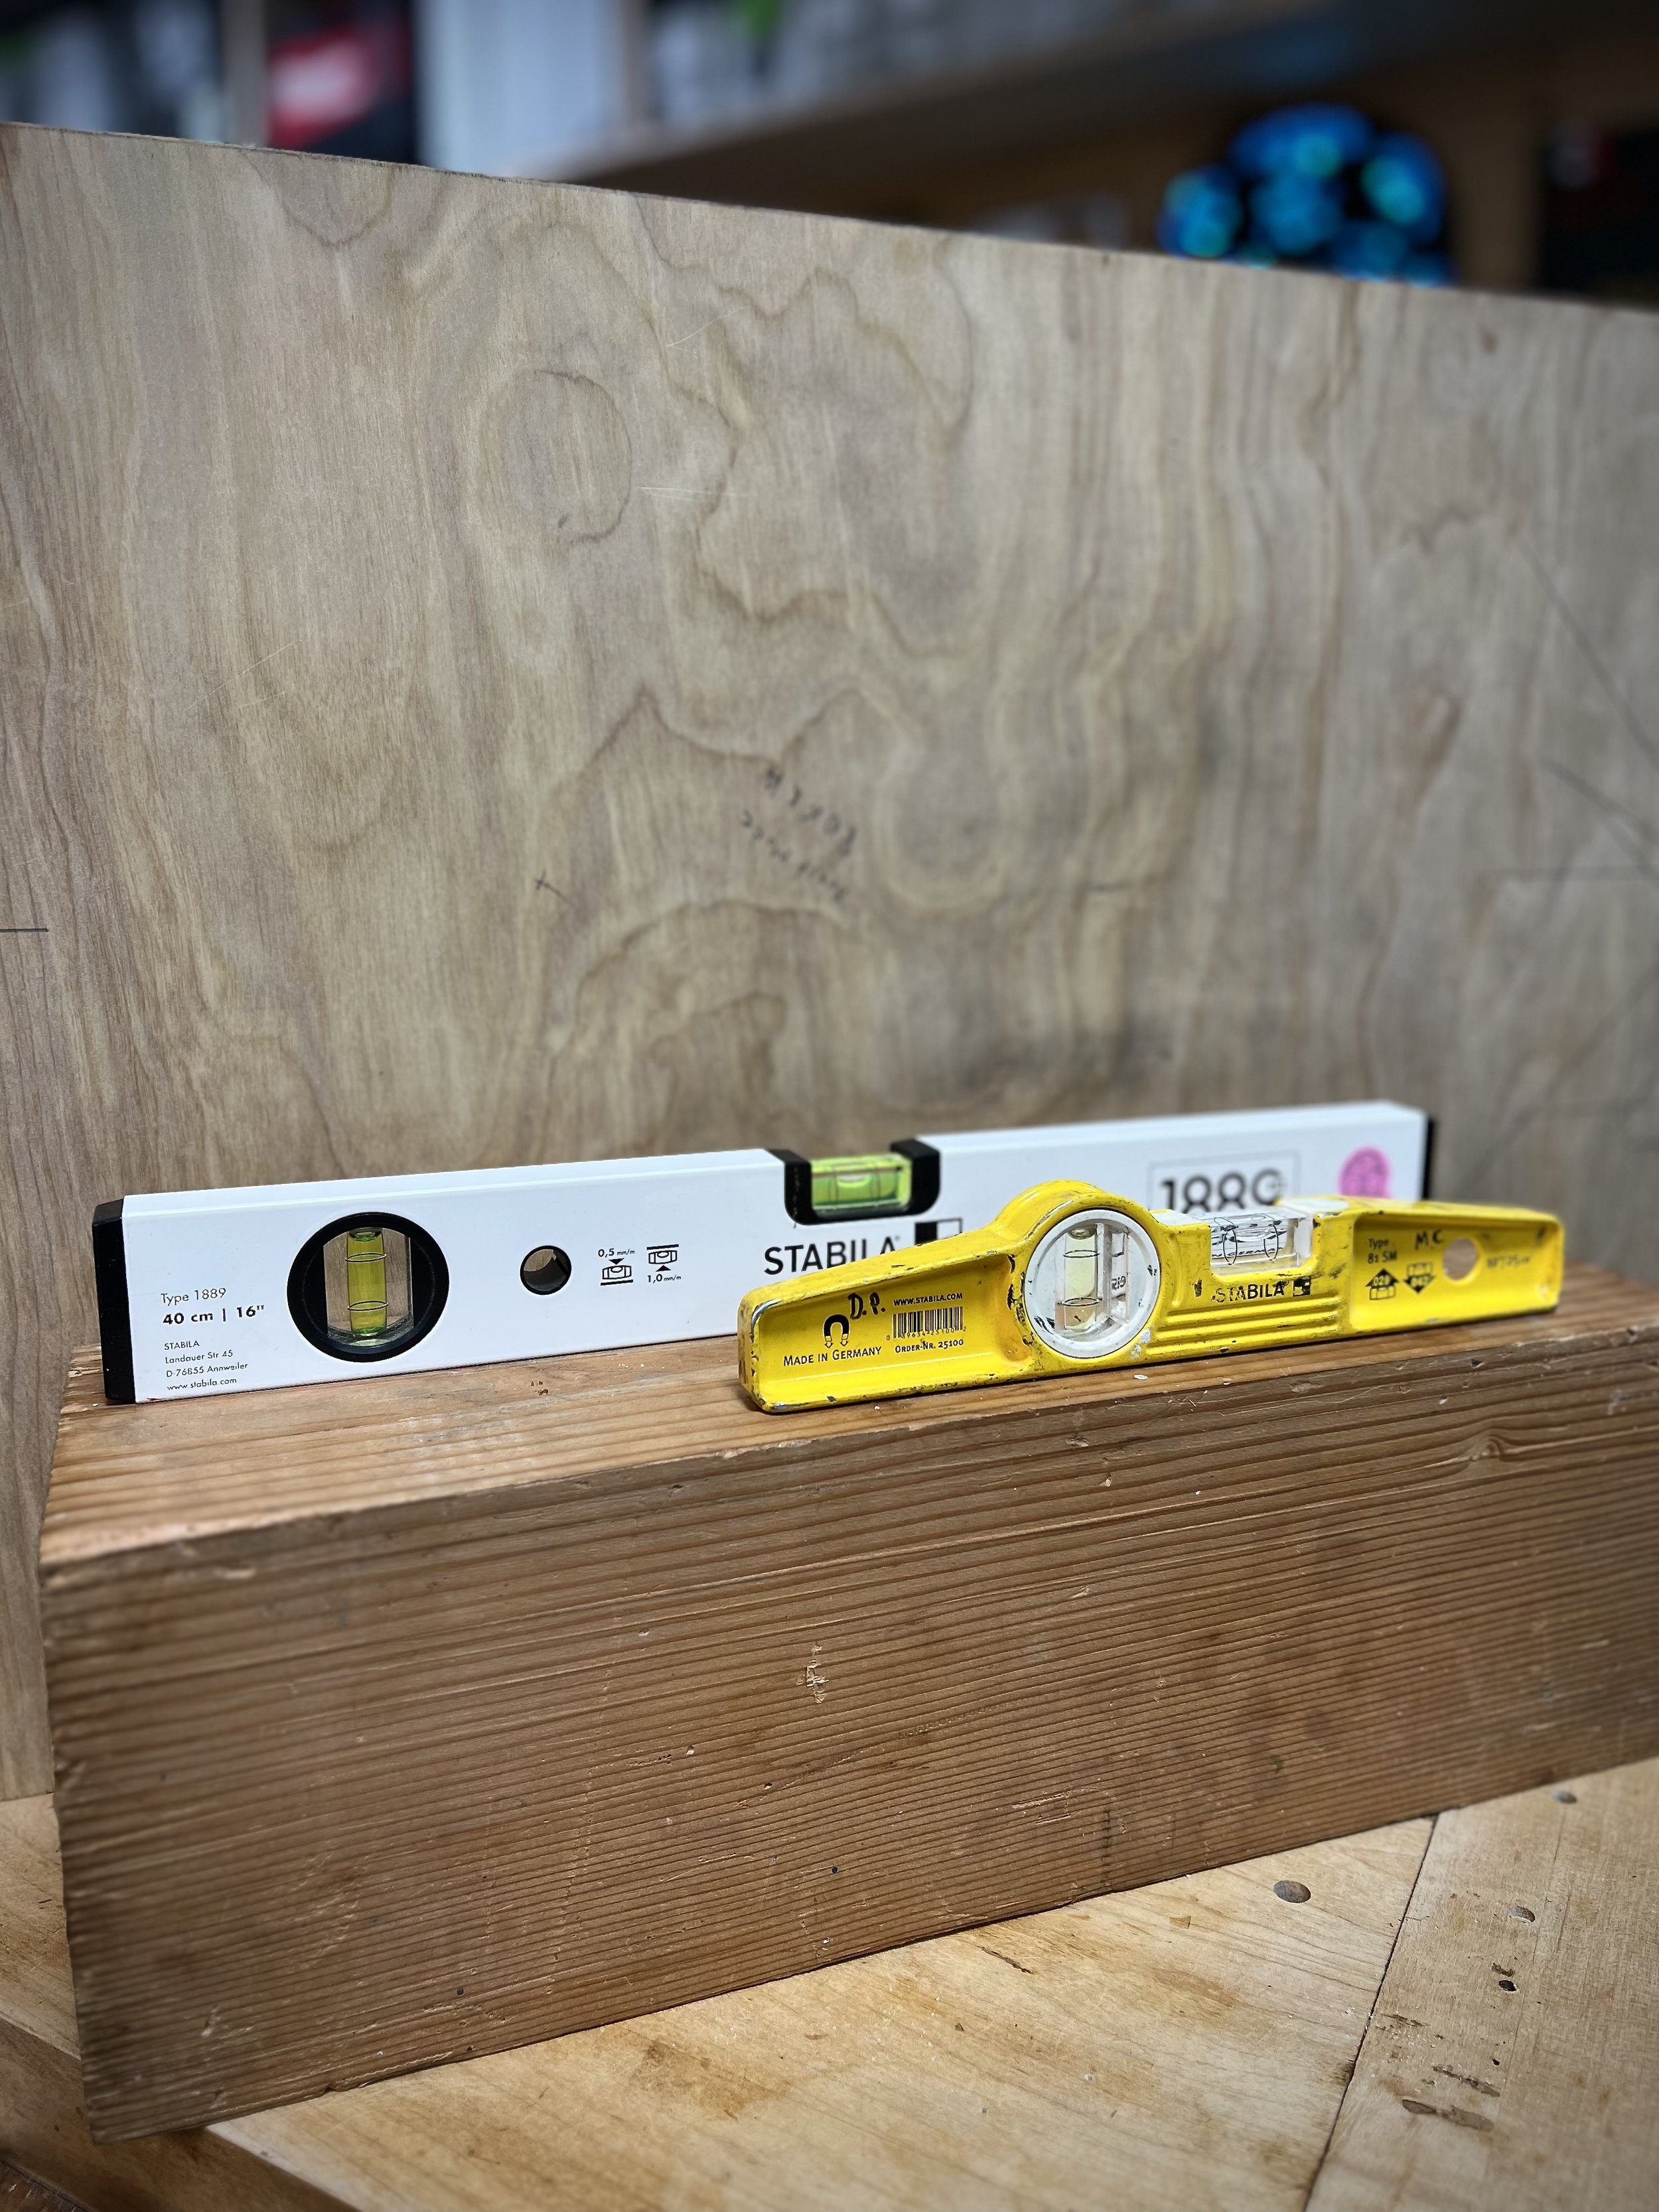
Level: Ensures surfaces are plumb and level. Levels come in all shapes and sizes, from a bullet level to an 8 foot level they serve to ensure the structures are set correctly to maximize structural integrity and aesthetic.
Utility Knife: Used for cutting various materials. Utility knives are a versatile tool to have for cutting wrapping paper, sharpening pencils and cutting flashing tape.

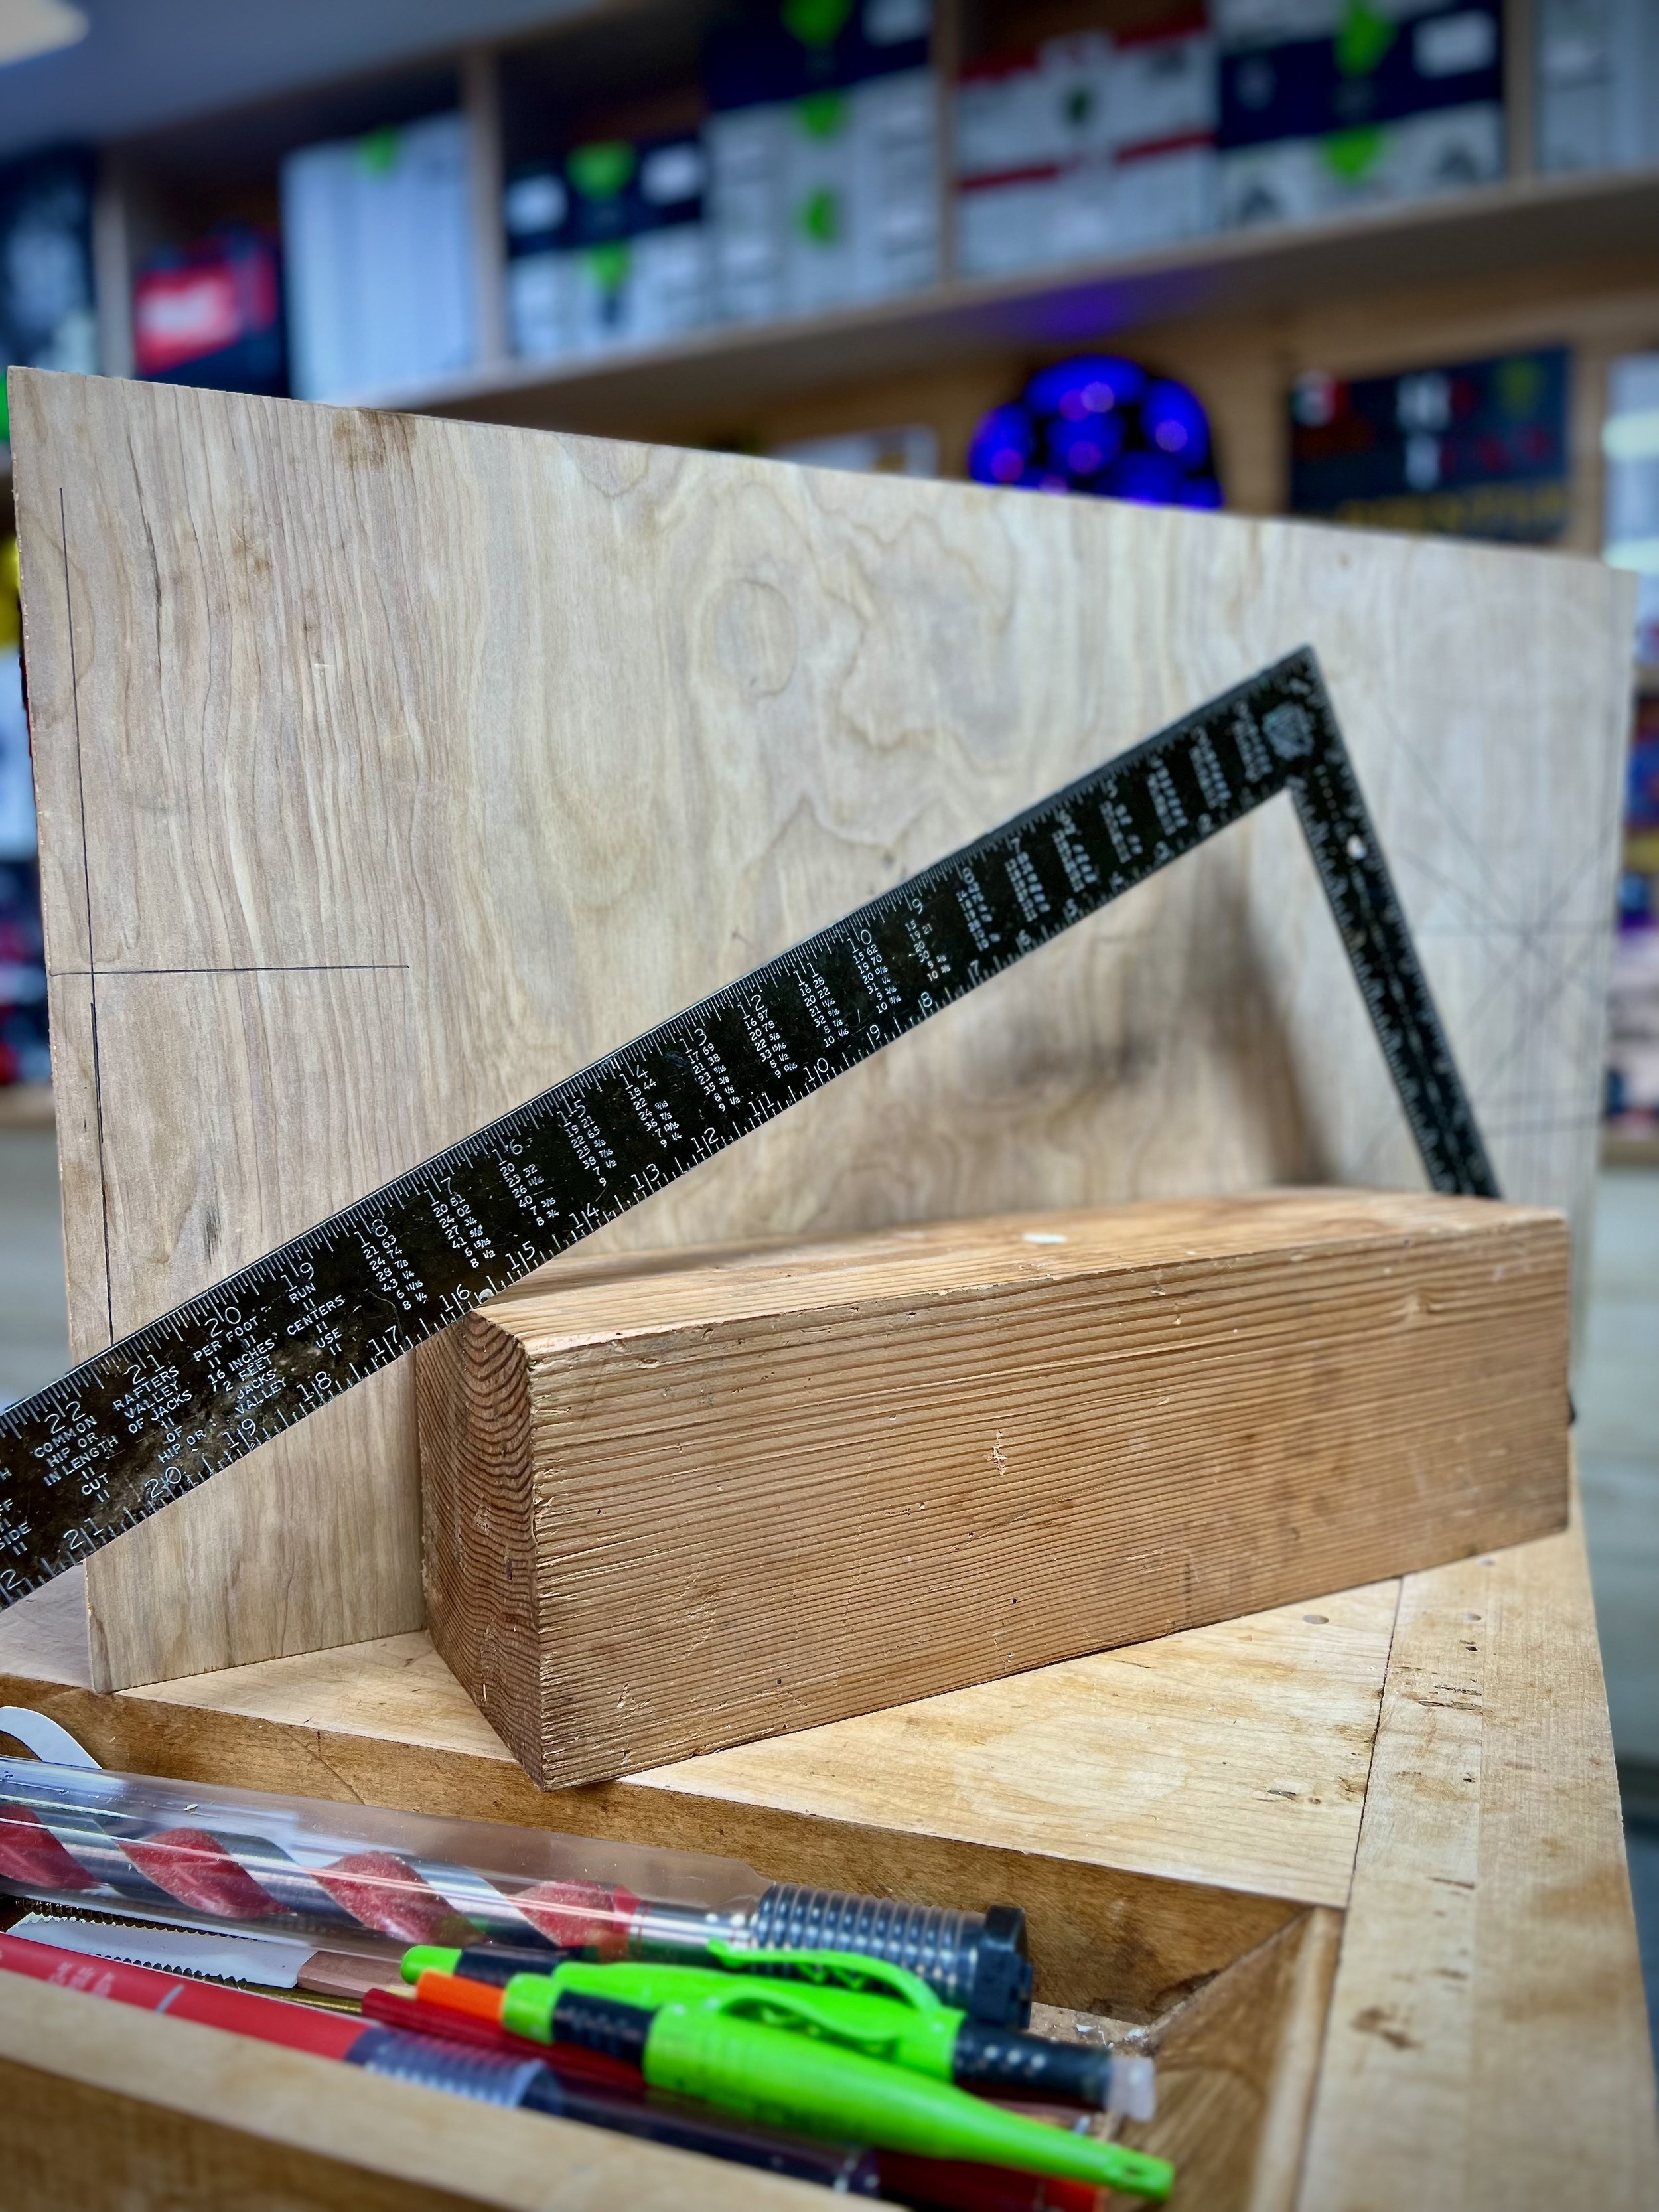
Framing Square: For checking right angles and laying out cuts, this square is the number one tool we use to cut our rafters in stick framing. The framing square seems like a simple tool but with the right knowledge you can accessorize this tool with gauges that allow you to create uniform outlines for stair stringers or other framing details.
Nail puller/Crowbar: Removes nails and assists in demolition. Whether there’s been some minor or major changes in the building plan or your nails just didn’t set right, the nail puller is crucial to being able to remove nails and material accurately without excessive demolition

Chisel: Helps in fine-tuning joints and cuts. Chisels serves as the perfect tool for minor adjustments on the fly or to remove that small little chunk of wood that the saw didn’t catch at the end of your cut.

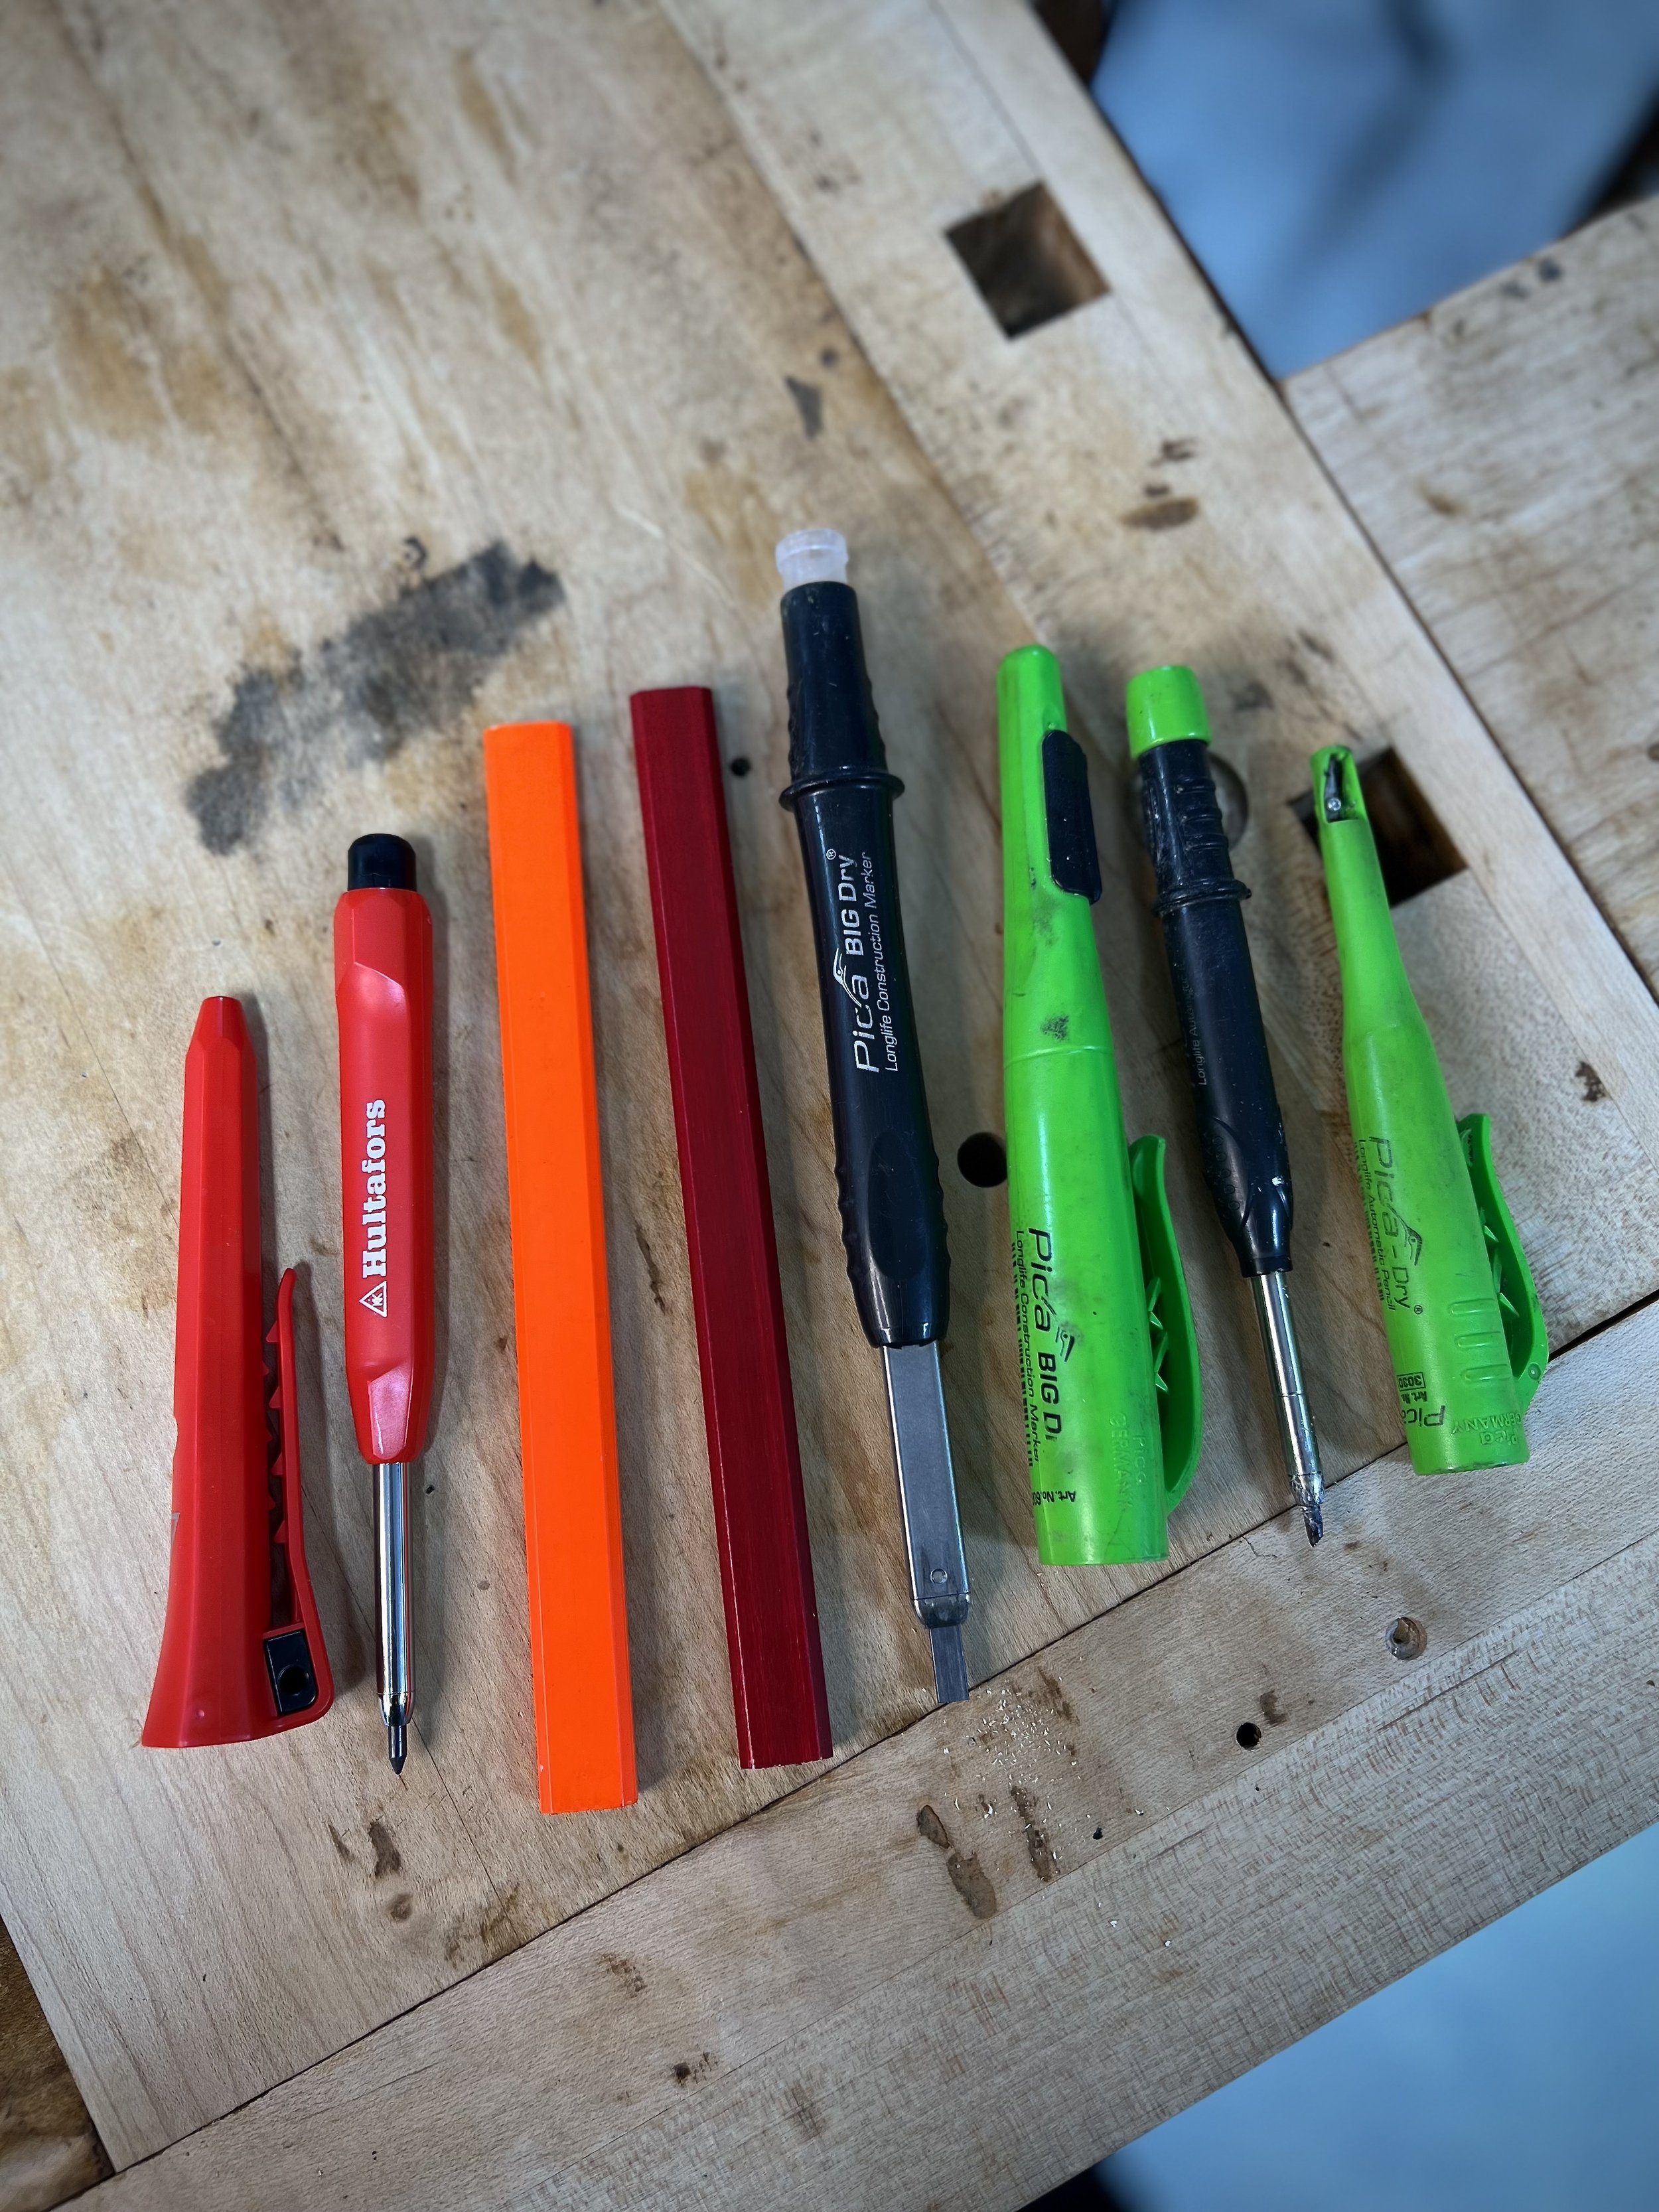
Carpenters Pen: Useful for marking measurements and symbols on wood to indicate sizes and directions of material placement. The carpenters pen or pencil is how we can communicate on the job site without saying a word. A fine pointed pencil can be used to scribe meausrements using various scribing techniques
Tool Belt: The tool belt is arguably the most useful tool in framing. The right tool belt set up can give you the ability to cary all these hand tools and more from task to task. Without it you’d be fumbling around looking for where you left every single tool when it comes time to use it. The bottom line is a tool belt facilitates maximum efficiency for organizing your most used tools on hand.

Hand tools paved the way for the many power tools we have today, here are some of the most useful power tools we use for framing and what makes them so valuable on the jobsite.
Power tools:
Circular Saw: Cuts large pieces of lumber quickly and accurately. The circular saw has driven production in framing since the handheld version was invented in the year 1929 by Art Emmons.

Cordless Drill/Driver: Essential for drilling holes and driving screws. Cordless drills allow you to drive a large variety of different fasteners into your structure, whether driving anchor bolts, construction screws or truss fasteners it is essential to have a drill/driver with the necessary drill bits and tips for various framing applications.

Nail Gun: Speeds up the process of nailing, improving efficiency. The first nail guns emerged as early as 1944, this invention is credited to an engineer by the name of morris pynoos who actually invented it to assemble the Frame of a plane for Howard Hughes. Thank the aeronautics industry for this marvelous invention.

Reciprocating Saw: Useful for demolition work and cutting through various materials. Depending on the quality of the blade there are various uses for the reciprocating saw, new blade technology now makes it possible to cut through multiple different materials at a time making it one of the most versatile demolition tools.

Power Miter Saw: Ensures precise angled cuts for framing. there are multiple angles that can be required for cuts, a miter saw makes this task so much simpler by being able to fix the blade to the appropriate angle needed and helps you make more consistent uniform cuts.

Table Saw: Helps in cutting larger pieces of wood with accuracy. There is no substitute for making long straight cuts when it comes to the table saw, for ease of control and accurate guidance.

Jigsaw: Ideal for cutting curves and irregular shapes.The jig saw allows you to maneuver a small blade for intricate cuts in away that would be impossible with most cut tools.

Laser: A Laser is used to create leveled and plumb reference lines on multiple planes. This tool can aid in planning layouts and be used as a guide to install materials with a self leveling laser line, this is extremely useful for creating a clean flow of uniform measurements and layouts for a structure or finish design.

Router: Used for creating edges, joints, and intricate designs. Routers allow you to take design and finish work to a whole other level. Create clean beveled edges or cut out spaces in wood to mount plates flush to reduce obstructions when lapping different parts of your structure, and cutting out clean window opening

Planer: Ensures uniform thickness and smoothness of lumber. Sometimes minor imperfections in wood can cause an issue when installing finish products like drywall or trim, a planer can be useful in shaving down any swells protruding outwards to create a more flawless finish without having to take your wood to a jointer or bench planer.

So there are my top 21 Picks for the most useful tools we use in framing today. What do you think about this list and what tools do you think should have earned a spot in this list? How can you see this list changing in the future as we develop new building methods and tools evolve?
Hand tools
Measuring tape
Speed Square
Carpenter pen
Hammer
Utility Knife
Nail Puller
Chalk Line
Level
Chisel
Framing Square
Toolbelt
Power tools
Circular saw
Reciprocating saw
Nail gun
Miter Saw
Table saw
Jig saw
Laser
Router
Planer
Power drill